Breakout Garage Charger Supercharger Build Guide for Speed
Learn how to master the Breakout Garage charger supercharger build. Get expert tuning tips, engine swap advice, and performance steps to dominate the track.
Published:
Video Guide
BUYING JUNKYARD CHARGER THEN PUT A GAINT SUPERCHARGER ON IT! BREAKOUT GARAGE!Table of Contents
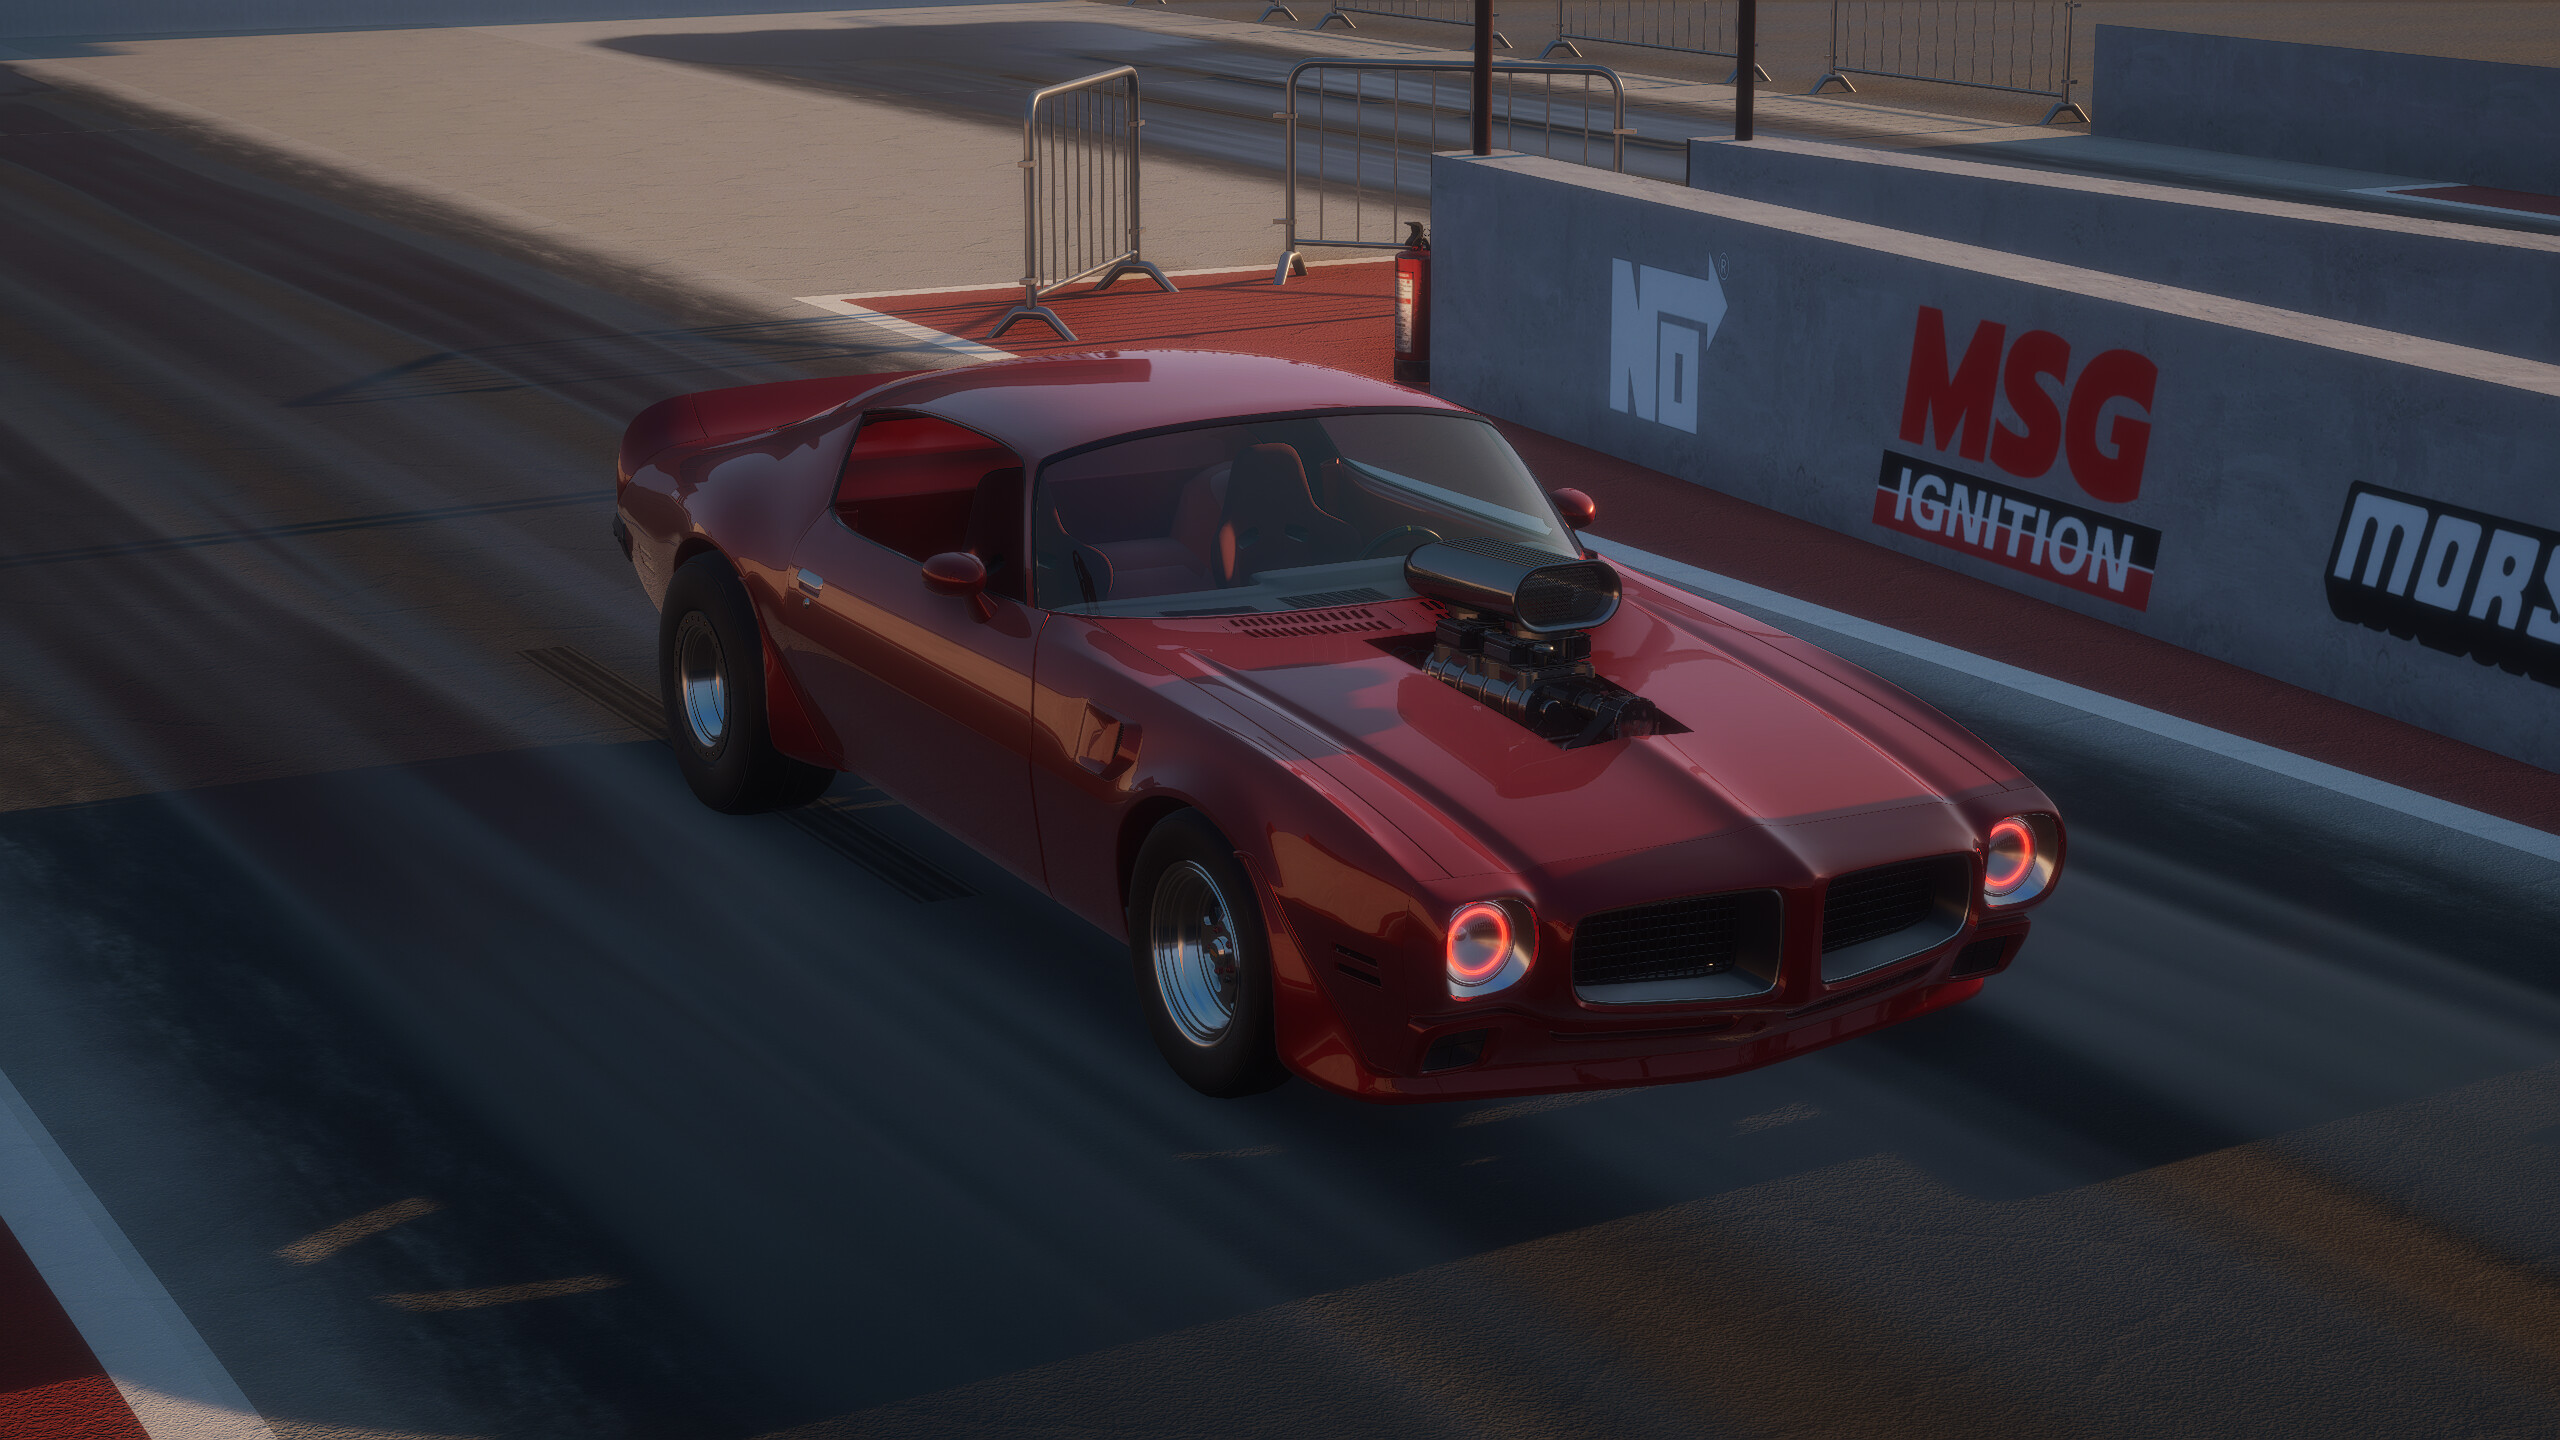
When you start tearing down a rusty shell in Breakout Garage, the dream of building a high-performance machine often hits a wall of complex mechanics. If you have been looking to push your car to the limit, the Breakout Garage charger supercharger build is the ultimate upgrade to transform your drag racing performance. This guide will walk you through the essential steps, tuning secrets, and potential pitfalls of transforming your ride into a forced-induction monster.
Understanding engine dynamics is crucial because slapping a supercharger onto a stock small block engine without the right internal support is a recipe for disaster. Whether you are aiming to shave seconds off your quarter-mile or dominating the road course, mastering the balance between raw horsepower and structural reliability is what sets the top tuners apart.
Understanding the Basics of Forced Induction in Breakout Garage
The core of any powerful build starts with the engine block. As many players have discovered, a standard engine block will quickly reach its physical limits once you add significant boost. According to community experience, shifting to a billet block is the most reliable way to handle the intense pressure generated by a 671 supercharger.
Attempting to run a supercharger on stock internals often leads to immediate mechanical failure. When you install a blower, the increased cylinder pressure demands stronger components. You aren't just adding a part; you are fundamentally changing the engine's operating environment.
Comparison of Engine Internal Upgrades
Component
Stock Part Performance
Upgraded/Forged Part Performance
Recommendation
Engine Block
Risk of grenade/failure
Billet block provides high durability
Essential for 671+ builds
Pistons
High compression/Stock
Low compression forged
Required for boost safety
Connecting Rods
Standard steel
Forged steel
Necessary for high RPM torque
Clutch
Stock/3-speed matching
Stage 4 performance clutch
Prevents slippage under power
Step-by-Step: The Supercharger Installation Workflow
Installing a supercharger is not just about bolting on the blower itself; it is a systematic process. Many players make the common mistake of skipping the supporting cooling or intake components, which results in a car that refuses to run or produces underwhelming numbers.
Preparation: Strip the engine down to the block. Ensure all worn components are replaced.
Internal Support: Install the forged, low-compression pistons and connecting rods into the billet block.
Induction Setup: Bolt on the intake manifold designed for the supercharger, followed by the supercharger unit itself.
Drive System: Install the appropriate crank pulley and belt. Ensure you choose the ratio (e.g., 2:1) that matches your desired boost level.
Fueling: Always verify you are running the correct fuel type, such as E85, which helps manage intake temperatures and prevent detonation.
[!TIP]
Don't Overlook the Belts
Always double-check that your crank pulley and supercharger drive belts are correctly installed. A common mistake for beginners is forgetting the alternator bracket or radiator piping, which prevents the engine from cranking.
Tuning for Power: Finding the Sweet Spot
Once the hardware is installed, the Breakout Garage charger supercharger build enters the tuning phase. This is where most people get "stuck." If your engine keeps hitting a wall or sounding "flat" during a dyno run, your ignition timing and air-fuel ratio are likely the culprits.
Community reports suggest that when running a supercharger, you should generally pull about 1 degree of timing for every PSI of boost. This reduces the risk of engine knock while keeping your power output high. If you are experiencing excessive heat or premature detonation, it is time to check your compression ratio and timing settings in the tuning computer.
Tuning Parameter Checklist
Setting
Adjustment Goal
Why It Matters
Timing Advance
Reduce ~1° per PSI
Prevents engine detonation
Air-Fuel Ratio (WOT)
~7.5 (E85)
Keeps cylinder temps manageable
Rev Limit
Match power curve peak
Prevents hitting the "flat" zone
Transmission Shift
Set at peak power RPM
Ensures optimal acceleration
The Role of Drivetrain and Tires
A high-horsepower engine is useless if you cannot get that power to the ground. In Breakout Garage, the transition to a Breakout Garage charger supercharger build often necessitates a switch to drag radials or slicks.
According to player experience, standard tires will just spin, wasting your expensive engine upgrades. Moreover, upgrading your transmission to a high-performance model—like an aftermarket 5-speed or a TCI automatic with a trans-brake—is crucial for consistent launches. A trans-brake allows you to hold your RPMs high before the green light, ensuring your car launches with maximum force.
[!WARNING]
Monitor Component Health
After aggressive testing, check your tires and clutch. High-torque builds will destroy standard parts in just a few runs. Frequent maintenance is the cost of entry for being at the top of the leaderboard.
Why Your Build Might Be Failing: Troubleshooting
If you are frustrated with your current build, you aren't alone. Most performance issues stem from mismatched parts. If your car is "twisting" or pulling during a launch, it’s not necessarily a tuning problem; it’s a setup problem.
The Transmission Trap: Running a 3-speed transmission with a high-boost engine creates massive heat and wear. Always match your transmission to your engine's power output.
The Cooling Gap: If you are running high boost without upgrading your radiator or pipes, the engine will overheat or limit power.
The Weight Factor: Don't just add parts. Remove unnecessary weight, like windows or standard seats, to improve your power-to-weight ratio.
You can find more technical discussions on building specific engine setups at the official Breakout Garage Steam Store Page. Engaging with the community there often yields specific advice on pulley ratios for different engine blocks.
FAQ: Mastering the Breakout Garage Charger Supercharger Build
Q: Is the 671 supercharger better than the smaller versions?
A: For a full Breakout Garage charger supercharger build, the 671 is generally preferred for high-horsepower drag setups. However, it requires a robust billet block and lower compression pistons to keep the engine from exploding.
Q: How do I know if my engine is going to fail?
A: Watch the dyno graph. If the power curve "tanks" or flattens out prematurely after a hard pull, your ignition timing is likely too aggressive or your internals aren't rated for that level of boost.
Q: Why does my car pull to the side during a race?
A: This is usually due to uneven tire pressure or torque steer caused by the massive power output. Ensure your tire pressures are consistent, particularly on the rear drag slicks, and check your alignment.
Q: Where can I find more tuning guides?
A: The best place is the community-driven Wiki and the Steam discussion boards. Many experienced players share their specific tuning settings for different engines, which can save you hours of trial and error.